
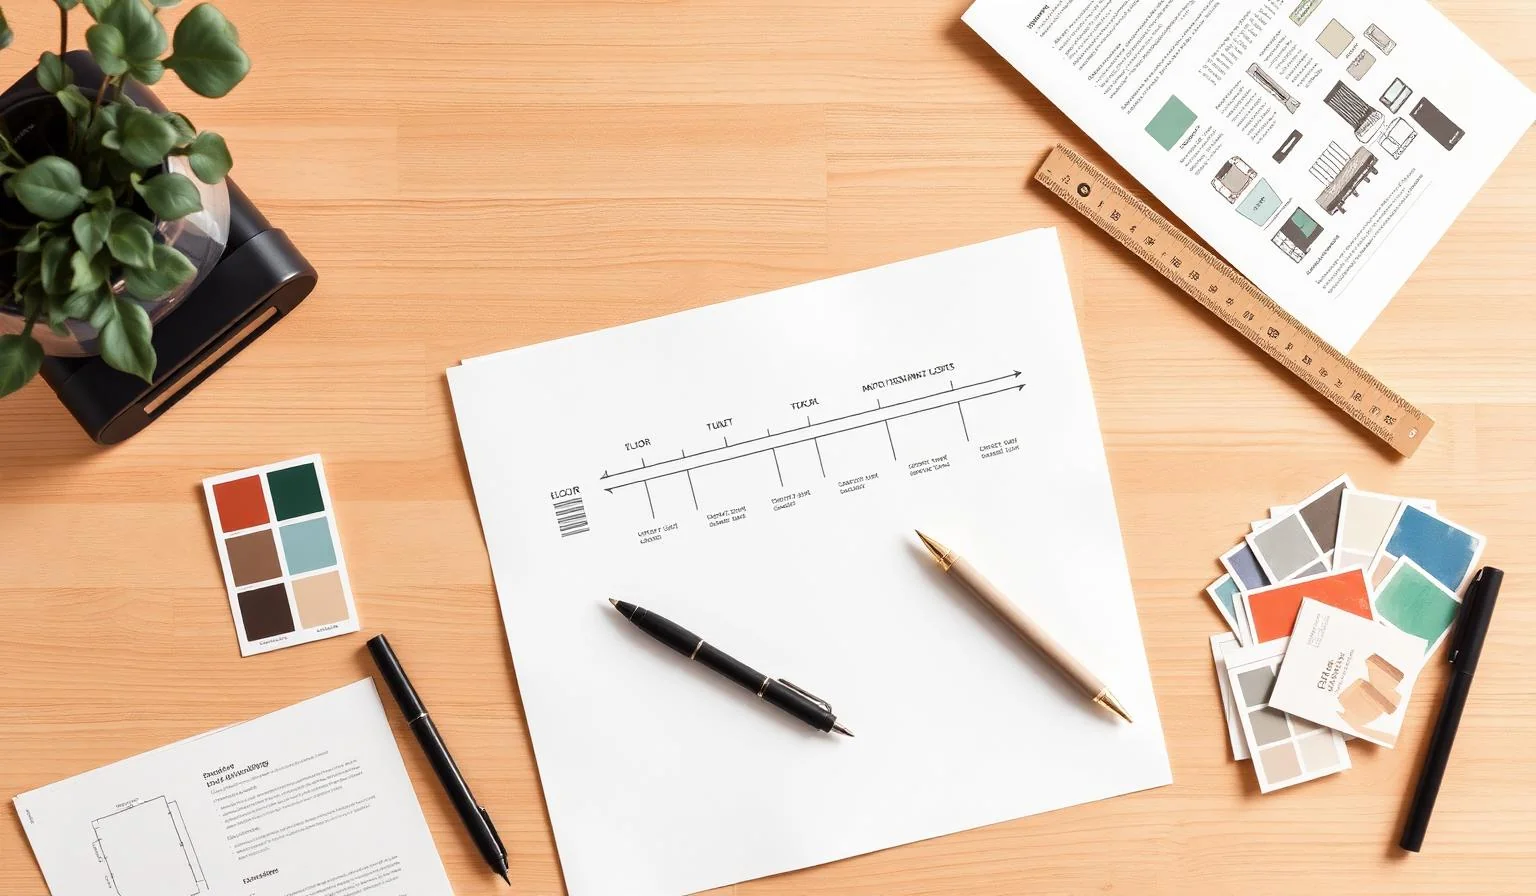
Site Measurement for Interior Designers: Tools, Checklist & Mistakes
Every interior project lives or dies on the accuracy of the first site visit. A wardrobe ordered 6mm too tall doesn't fit. A bedhead 50mm off-centre looks wrong forever. This guide is the practical, no-fluff version of how to measure a site correctly.
What "measurement" actually means
Site measurement is not just length × breadth. It includes:
- All wall lengths and heights (each wall, individually).
- Diagonals (for square-check).
- Door and window positions and openings.
- Beam locations and depths.
- Slab height (for false ceiling planning).
- All existing electrical points (sockets, switches, lights, AC, exhaust).
- All plumbing points (inlet, outlet, drain, gas).
- Existing flooring level and any steps.
- Beam-to-wall offsets (often there are concealed beams not shown in plans).
- Column projections.
Tools you actually need
- Laser distance meter (Bosch GLM 30, Leica Disto D2, or similar) — accuracy to 1.5mm at 30m.
- Tape measure — 5m and 30m. For redundancy and for diagonals.
- A4 grid notebook + pencil — sketch the room freehand at first.
- Smartphone camera — capture each wall, ceiling, corner separately.
- Magic Plan / RoomScan app — for a quick 3D capture; supplementary, not primary.
A laser meter alone is fine for 80% of cases. Tape is essential for double-checking and for diagonals where the laser cannot see clearly.
The 30-point measurement checklist
For each room:
- Length of each wall (4+ walls if there are columns).
- Floor-to-ceiling height (measured at both ends of the room — slabs are not flat).
- Floor-to-beam clearance (lowest point).
- Diagonal (corner to corner) — square check.
- Door opening width, height, and clear opening.
- Door direction (inward/outward) and hinge side.
- Window opening width, height, sill height.
- Window depth (front to back).
- AC point location (wall and height).
- AC outdoor unit position.
- Switch board positions and counts.
- Light fixture positions (existing and planned).
- TV point location.
- Internet/data point.
- Exhaust fan position.
- Beam location (mark on sketch).
- Column projection if any.
- Existing flooring level vs other rooms.
- Door threshold height.
- Skirting height (existing).
- Existing dado/cladding (if to be retained).
- Plumbing — kitchen sink inlet/outlet position.
- Plumbing — toilet seat to wall distance.
- Plumbing — shower mixer height and position.
- Plumbing — geyser position and electrical point.
- Existing furniture sizes (if any are to be reused).
- Direction (compass) — for natural light planning.
- View through each window (for furniture orientation).
- Common areas — corridor width, lift size (for material movement).
- Building rules — false ceiling restrictions, working hour rules, parking for vendor vehicles.
The last three save more projects than the first 27 combined.
How to record measurements
- Sketch each room freehand, no scale, in your notebook.
- Mark dimensions on the sketch.
- Photograph the sketch immediately.
- Photograph each wall with the dimension annotated on a small whiteboard or sticky note in frame.
- Back at the office, redraw the layout in CAD/Sketch and check against the photos.
Common measurement mistakes
- Measuring once. Always measure twice for any wall over 3m.
- Ignoring beam depths. False ceiling planning fails.
- Skipping diagonals. Rooms are rarely square; you will discover at install.
- Skipping floor-level differences between rooms. Skirting and threshold disputes follow.
- No photo of the meter board. You will need to know the load capacity later.
- Measuring on furniture day, not on empty site. Mistakes hide behind existing furniture.
The pre-installation re-measurement
Always re-measure on the day before installation. Sites change — civil work happens, walls get re-plastered, floor levels shift. A 5-minute re-check has saved more than one wardrobe from arriving 8mm too tall.
Sharing measurements with the team
Your designers, factory, and site supervisor all need the same measurements. Put them in one shared file — not three WhatsApp messages with conflicting numbers.
Intorza's project module attaches measurement files to each project so every team member references the same source.
What to do next
If your last project had any "fitment issue", trace it back to its measurement. There is always a missing checklist item. Add it to your form. Over a year, your error rate drops to near-zero.