
Client Onboarding for Interior Designers: Step-by-Step
The first 7 days of an interior project decide its margin and its mood. A clean onboarding process sets expectations, documents scope, and starts the relationship on a professional footing. A messy one creates a year of friction.
Here is a repeatable onboarding sequence used by high-output studios.
Day 0 — Advance received
Trigger the onboarding the moment the advance is credited. Not when the client says "I have paid." Wait for bank confirmation.
Day 1 — Welcome kit
Send the client a welcome PDF or email with:
- Their dedicated project manager's name, photo, contact.
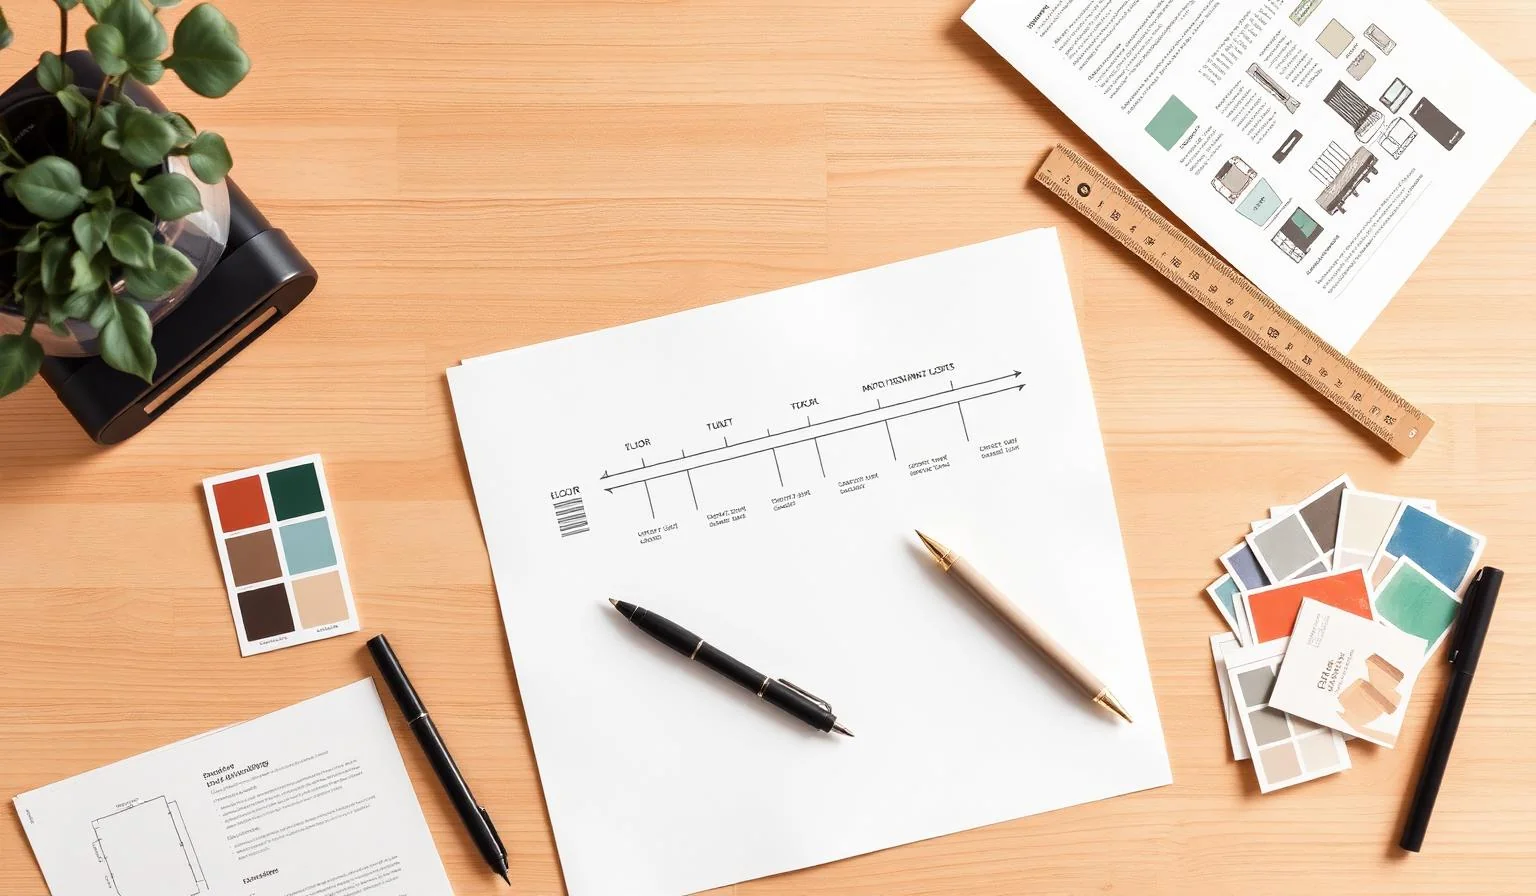
- The full project timeline at a glance (concept → design → quotation → execution → handover).
- What you need from them in the next 7 days (lifestyle questionnaire, existing photos, KYC, GST details if applicable).
- The single communication channel (WhatsApp group, email thread).
- Working hours and response time SLAs.
A polished welcome kit anchors the relationship as professional from day 1.
Day 2 — Lifestyle questionnaire
A structured form. Not "what do you like?" but:
- How many people live in the home? Ages?
- Pets?
- Cooking style and frequency.
- Work from home — how many people, how often?
- Storage — sari count, formal wear, shoes, hobby items.
- Allergies, accessibility needs.
- Inspirations — Pinterest board, Instagram saves.
- Hard no's — colours, materials, brands.
- Budget priorities — kitchen-first? Master-first?
This becomes the brief. Every later design decision is benchmarked against it.
Day 3–4 — Kickoff call
A 60-minute video or in-person meeting:
- Walk through the questionnaire response together.
- Confirm scope, timeline, and milestones.
- Confirm communication channel and weekly review cadence.
- Confirm the snag escalation path.
- Sign the project sign-off document.
A signed scope document at kickoff prevents 80% of later disputes.
Day 5 — Measurement appointment
Schedule the site measurement visit. Send a confirmation 24 hours before. Bring the measurement checklist.
Day 6 — Mood board v1
Within 48 hours of measurement, share a first mood board. Speed signals competence. Even if it changes 3 times, the first one anchors the conversation.
Day 7 — First review meeting
A 45-minute meeting:
- Walk through the mood board.
- Confirm 3 must-have priorities and 1 must-avoid.
- Lock the next milestone date.
Documents to lock at onboarding
These should all be signed (or e-signed) in the first 7 days:
- Project agreement / scope of work.
- Quotation (proforma + tax invoice for advance).
- Design fee acknowledgement.
- Change order policy.
- Communication and decision-maker confirmation.
- Site readiness checklist (electricity, water, storage, access).
Most studios skip the change order policy. That single document saves more margin than any other.
The change order policy in one paragraph
Any change to the approved design or BOQ after sign-off will be quoted as a change order, with revised cost and timeline impact. Change orders must be approved in writing before execution. The studio reserves the right to decline a change that affects already-procured material.
That paragraph alone prevents most scope-creep disputes.
What "professional" feels like to the client
- Same person greets them every time (the PM).
- Replies in under 4 working hours.
- Weekly Friday update — predictable, structured, with photos.
- Documents that look as polished as the design work.
Clients pay a premium for predictability. Onboarding is where that perception is set.
Common onboarding mistakes
- No welcome kit. Sets a low bar.
- No signed scope. Future disputes.
- No change order policy. Margin leakage.
- Mood board takes 10 days. Momentum lost.
- Different team member every meeting. Trust does not build.
What to do next
Audit your last 3 client onboardings. How many of these documents were signed in the first 7 days? Build the missing ones into a template you reuse.
Intorza ships with client onboarding templates, signed scope documents, and project kickoff workflows. Start free →